Setting up a dedicated charging station for your devices can simplify daily life, reduce clutter, and keep all your gadgets ready to use. Whether you have smartphones, tablets, smartwatches, or wireless earbuds, organizing a central spot to charge them helps avoid lost cables and crowded outlets.
In this guide, we’ll walk through how to create a practical and efficient charging station at home. From choosing the right location to managing cables and selecting chargers, these steps will help you set up a neat, user-friendly space for all your devices.
Why Create a Charging Station?
Before diving into the setup, it’s helpful to understand the benefits of a dedicated charging station:
– Reduces clutter: Keeps cables and devices in one place instead of scattered around.
– Saves time: Quickly find and charge devices without searching for chargers.
– Protects devices: Organized cables reduce wear and avoid accidental damage.
– Improves aesthetics: Neat arrangement makes your space look cleaner and more inviting.
– Enhances charging efficiency: Using the right chargers can speed up charging times safely.
Step 1: Choose the Perfect Location
Deciding where your charging station will live is key. Consider these factors:
– Central location: Pick a spot where devices are used or stored, such as a desk, countertop, or nightstand.
– Access to power outlets: Preferably near an outlet or power strip to avoid long cables trailing.
– Ventilation: Avoid enclosed spaces to prevent devices and chargers from overheating.
– Safety: Keep the station away from water sources or areas prone to spills.
Common places include a home office desk, living room media console, or bedroom dresser.
Step 2: Select the Charging Equipment
Having the right chargers and accessories is essential for a smooth setup.
Chargers
– Multi-port USB chargers: Offer several USB ports in one unit for charging multiple devices simultaneously.
– Wireless charging pads: Ideal for smartphones and earbuds that support wireless charging.
– Fast chargers: Look for chargers that support fast charging standards compatible with your devices.
– Power strips with USB: A power strip with integrated USB ports reduces the number of separate adapters.
Charging Cables
– Use quality cables suited for your devices (USB-C, Lightning, Micro-USB).
– Consider cables of varying lengths to keep the station tidy.
– Have extra cables on hand for guests or replacements.
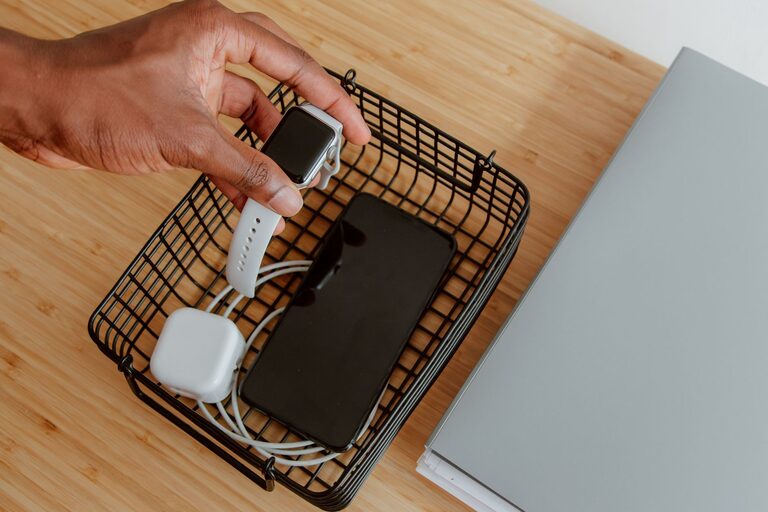
Additional Accessories
– Docking stations: Designed to hold and charge specific devices like smartwatches or tablets.
– Charging stands: Keep devices upright and visible while charging.
– Cable organizers: Clips, sleeves, or boxes to manage and hide cables.
Step 3: Organize Your Charging Station
Now that you have the equipment, it’s time to set up and organize.
Arrange the Hardware
– Place chargers close to the power source.
– Position wireless chargers or stands where devices are placed easily.
– Group similar devices together for convenience.
Manage the Cables
– Use cable clips or ties to bundle excess length.
– Route cables behind furniture or inside cable management boxes.
– Label cables if multiple types look similar.
Create Zones
If you have many devices, create zones for different types:
– Smartphone zone
– Tablet and laptop zone
– Wearables and accessories zone
This makes it easier to find and charge specific devices.
Step 4: Maintain and Update Your Station
Keeping your charging station tidy and functional requires regular checks.
– Declutter: Remove unused cables or devices.
– Clean: Wipe the area and dust chargers periodically.
– Check cables: Replace frayed or damaged cords.
– Upgrade: Swap out outdated chargers for newer, faster models to support your devices.
Tips for a Safe and Efficient Charging Station
– Don’t overload power strips or adapters.
– Use certified chargers to avoid damaging devices.
– Avoid charging devices on soft surfaces to prevent overheating.
– Keep liquids away from the charging area.
– Turn off or unplug chargers when not in use to save energy.
Example DIY Charging Station Ideas
– Use a wooden organizer box with holes drilled for cables and multiple USB ports inside.
– Repurpose a drawer with cable pass-throughs and a power strip mounted inside.
– Purchase a commercial charging station designed for multiple devices with built-in cable management.
Conclusion
A well-planned charging station keeps your devices powered, organized, and ready for use every day. By choosing the right location, investing in quality charging equipment, and managing cables efficiently, you can create a neat and convenient tech hub in your home. Regular upkeep ensures your station stays safe and clutter-free, making charging devices a simple and enjoyable part of your routine.